How to: Select a Resource When Scheduling a FlexAppointment - Home Kiosk, IOS App and Android App
Kiosk
- From either the on-site kiosk, or the institution’s website, enter your phone number to get started:
2. Next, select the reason for your visit from a similar start screen. For this example, we’ve selected the ‘Advising’ option:
3. Once selected, the NEXT button will illuminate, indicating you may move to the next screen:
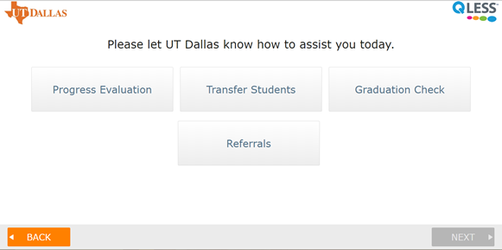
4. Next, select the specific service for which you would like to schedule an appointment. For this example, we’ve selected ‘Progress Evaluation’:
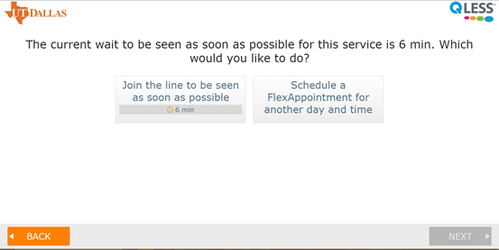
5. Next, select the option to ‘Schedule a FlexAppointment for another day and time’:
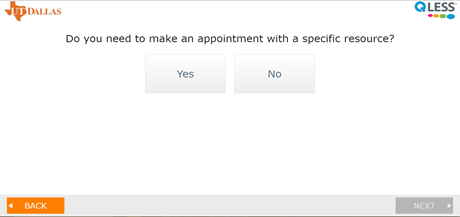
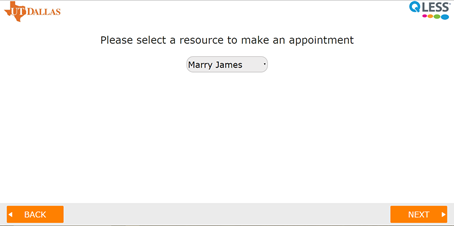
6. Now, select ‘YES’ to make an appointment with a specific resource. Then choose the resource’s name from the drop-down menu:
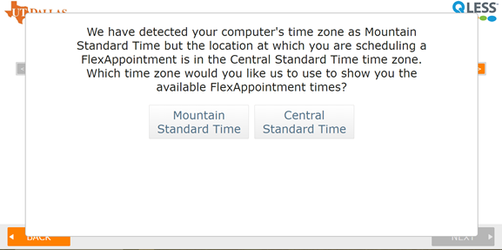
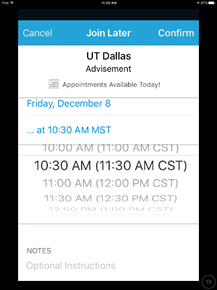
7. The system will then detect the time zone from which you are making your FlexAppointment. If your time zone differs from the institution, select the appropriate option:
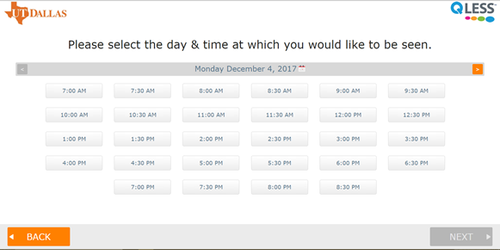
8. Next, select your desired appointment date and time. For this example, we’ve chosen 9:00 a.m. on Monday, December 4th. However, you can change the date by pressing the arrow illuminated:
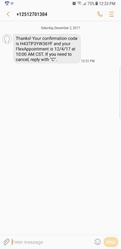
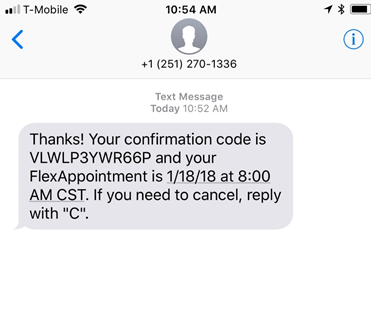
9. After selecting your date and time, you will receive a text message confirming your appointment date and time:
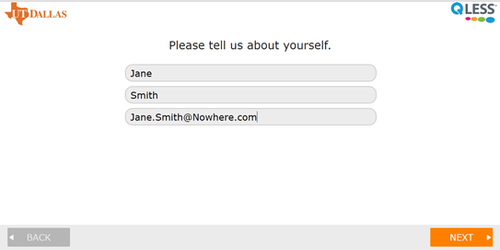
10. Next, enter your personal details (if required):
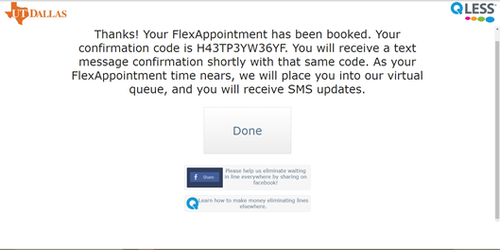
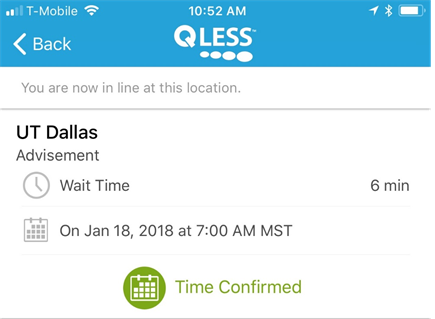
11. This screen serves as a second confirmation that your FlexAppointment has been successfully booked. Press ‘Done’ to exit.
IOS / Iphone
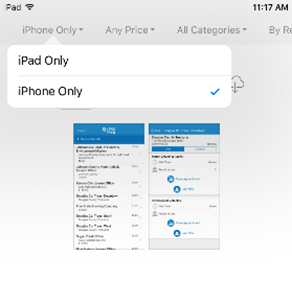
- Search “QLess” in the Apple Store, on your iPhone or iPad. If using an iPad, be sure to change the filter in the upper left corner to “iPhone only”, or you will not be able to see the consumer iOS version of the QLess application:
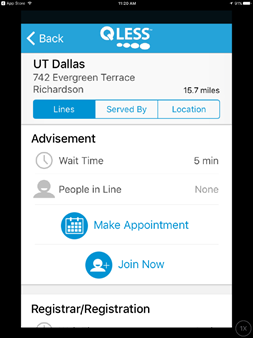
2. Touch Make Appointment to begin. Note, ensure the Lines option is highlighted in blue, otherwise you will not see the make appointment option:
3. Enter your personal details:
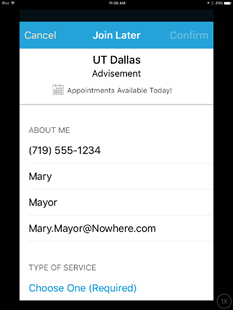
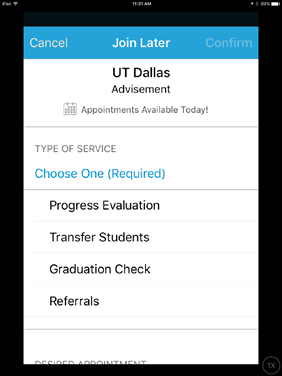
4. Scroll up to Type of Service and touch Choose One (Required) to expand the menu of service types. Then choose the reason for your appointment. For this example, we’ve chosen ‘Progress Evaluation’. A blue check mark will appear next to your choice. Touch the service you’ve selected once more to collapse the type of service menu:

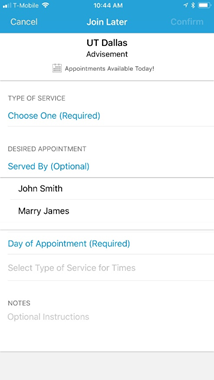
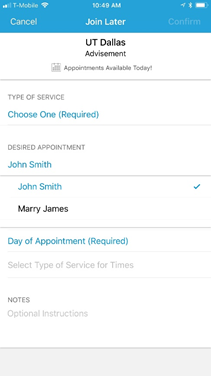
5. Scroll up to Served By (Optional) and touch this option to the expand the list of resources with who you may schedule a FlexAppointment. A blue checkmark will appear next to your selection:
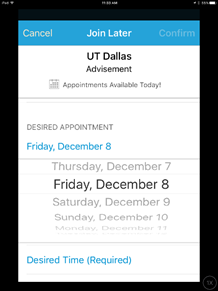
6. Scroll up to Desired Appointment and touch Day of Appointment (Required) to expand the calendar. The calendar is designed in a scroll effect. Slide your finger up or down to your desired date and touch the day you would like to book. The date you’ve selected will now appear, highlighted in blue, atop this menu. Touch it once more to collapse the calendar:
7. Scroll up to Desired Time and touch Desired Time (Required) to expand the list of available time slots. The clock is designed in a scroll effect as too. Slide your finger up or down to your desired time slot. Once touched, your selected time will appear, highlighted in blue, atop this menu. Touch it once more to collapse the menu of time slots.
8. You may elect to scroll up to Notes to leave a little extra detail about the reason for your visit such as, “I need to know how many credits I need to graduate”, etc. Or, simply press Confirm in the upper right corner. Your appointment date and time will show as confirmed:
9.
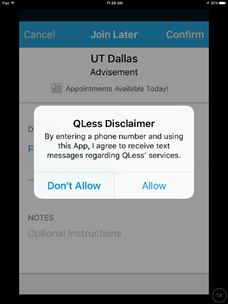
- If this is your first time joining a queue from the iOS application, you may be presented with the following disclaimer. If you agree to receive text messages regarding QLess services, touch Allow:
This is required in order to use the consumer application to join your virtual Queue, and manage your place in line:
10.At this point you will receive a text confirming your FlexAppointment date and time:
Android App
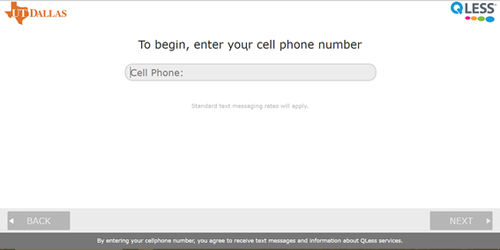
- Search “QLess” in the Google Play Store on your Android, version 4.0 or higher, mobile phone or tablet. Download and install:
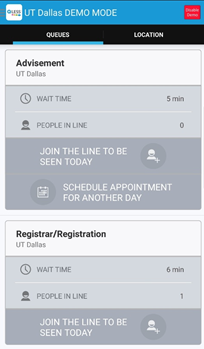
2. Touch the option to Schedule Appointment for Another Day. Note, this option will only be available for departments and services for which FlexAppointments have been specifically enabled:
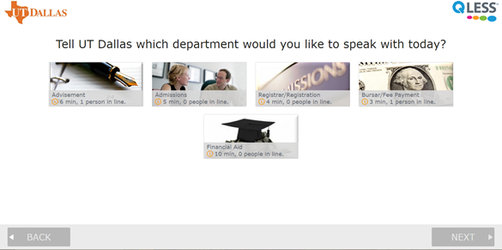
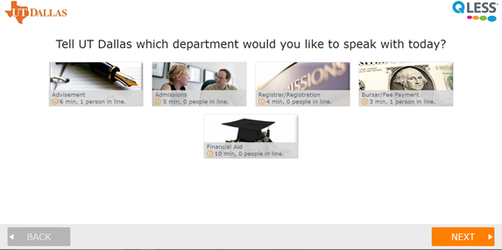
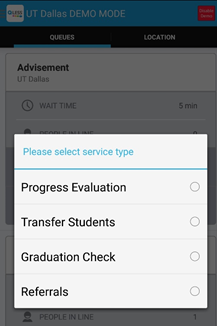
3. Choose the reason for your appointment. For this example, we’ve selected ‘Progress Evaluation’
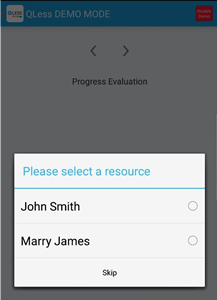
4. Choose the specific resource (or person) with whom you would like to schedule your appointment. For this example, we’ve selected ‘Marry James’. You may also elect to skip this detail; in which case your appointment would be made for any available resource within the service department on the day of your appointment:
5. If you’re scheduling your appointment from a time zone that differs from the institution’s, the system will detect the difference. Please select the appropriate option:

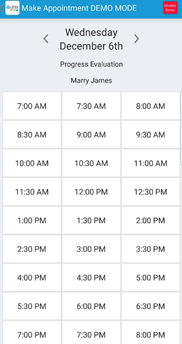
6. Next, choose your appointment date and time. You may toggle different dates by touching the right arrow. Note, you may only book an appointment for the times listed on this screen, which are preconfigured by the institution. For this example, we’ve selected December 6th at 6:00 p.m.:
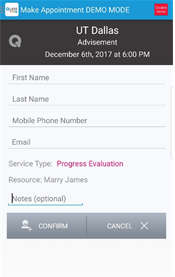
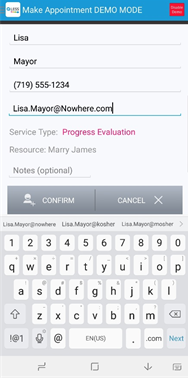
7. Now enter your identifiable details and touch Confirm:
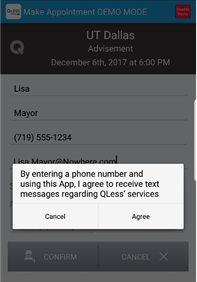
8. The following disclosure will appear. If you consent to receiving text messages regarding QLess services touch Agree:
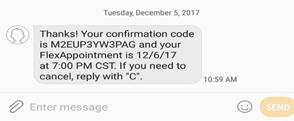
9. You’ll receive a similar text message confirming your FlexAppointment date and time:
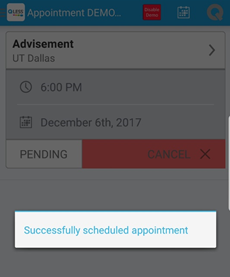
10. Next, the following message will appear on the Android application:
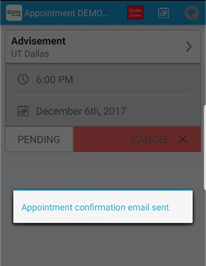
11. Your appointment has been successfully booked with the resource of your choosing, when you reach this screen: