FlexAppointment Overview
Qless™ FlexAppointments provide your customers the ability to specify the date and time at which they would like to try to reach the front of your queue. FlexAppointments allow your customers to book an appointment with you, with no additional work required on your part to manage these bookings. As the time of the customer's FlexAppointment approaches, Qless™ automatically places the customer into your virtual queue. The customer will then reach the front of the queue and be summoned by you, just as if they were a regular walk-in customer.
Appearance of customers with FlexAppointments
Purple icon in the queue instead of green
Small calendar icon above their heads that lists the time of their scheduled appointment
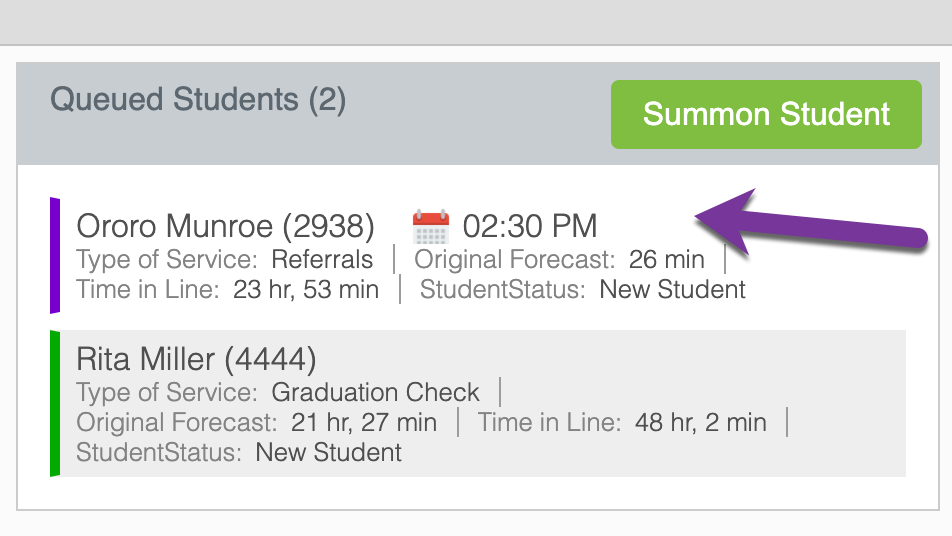
Qless™ will automatically rearrange the ordering of customers within the queue if necessary, to ensure that customers with FlexAppointments reach the front of the queue as close to the time of their scheduled appointment as possible. There is nothing special that you need to do with these customers. You simply summon them and mark them arrived as you would any other customer.
Note: If a customer with a FlexAppointment requests more time, he/she will turn green and his/her calendar icon will disappear. At that point, he/she will be treated as a regular customer without an appointment.
Appointment View
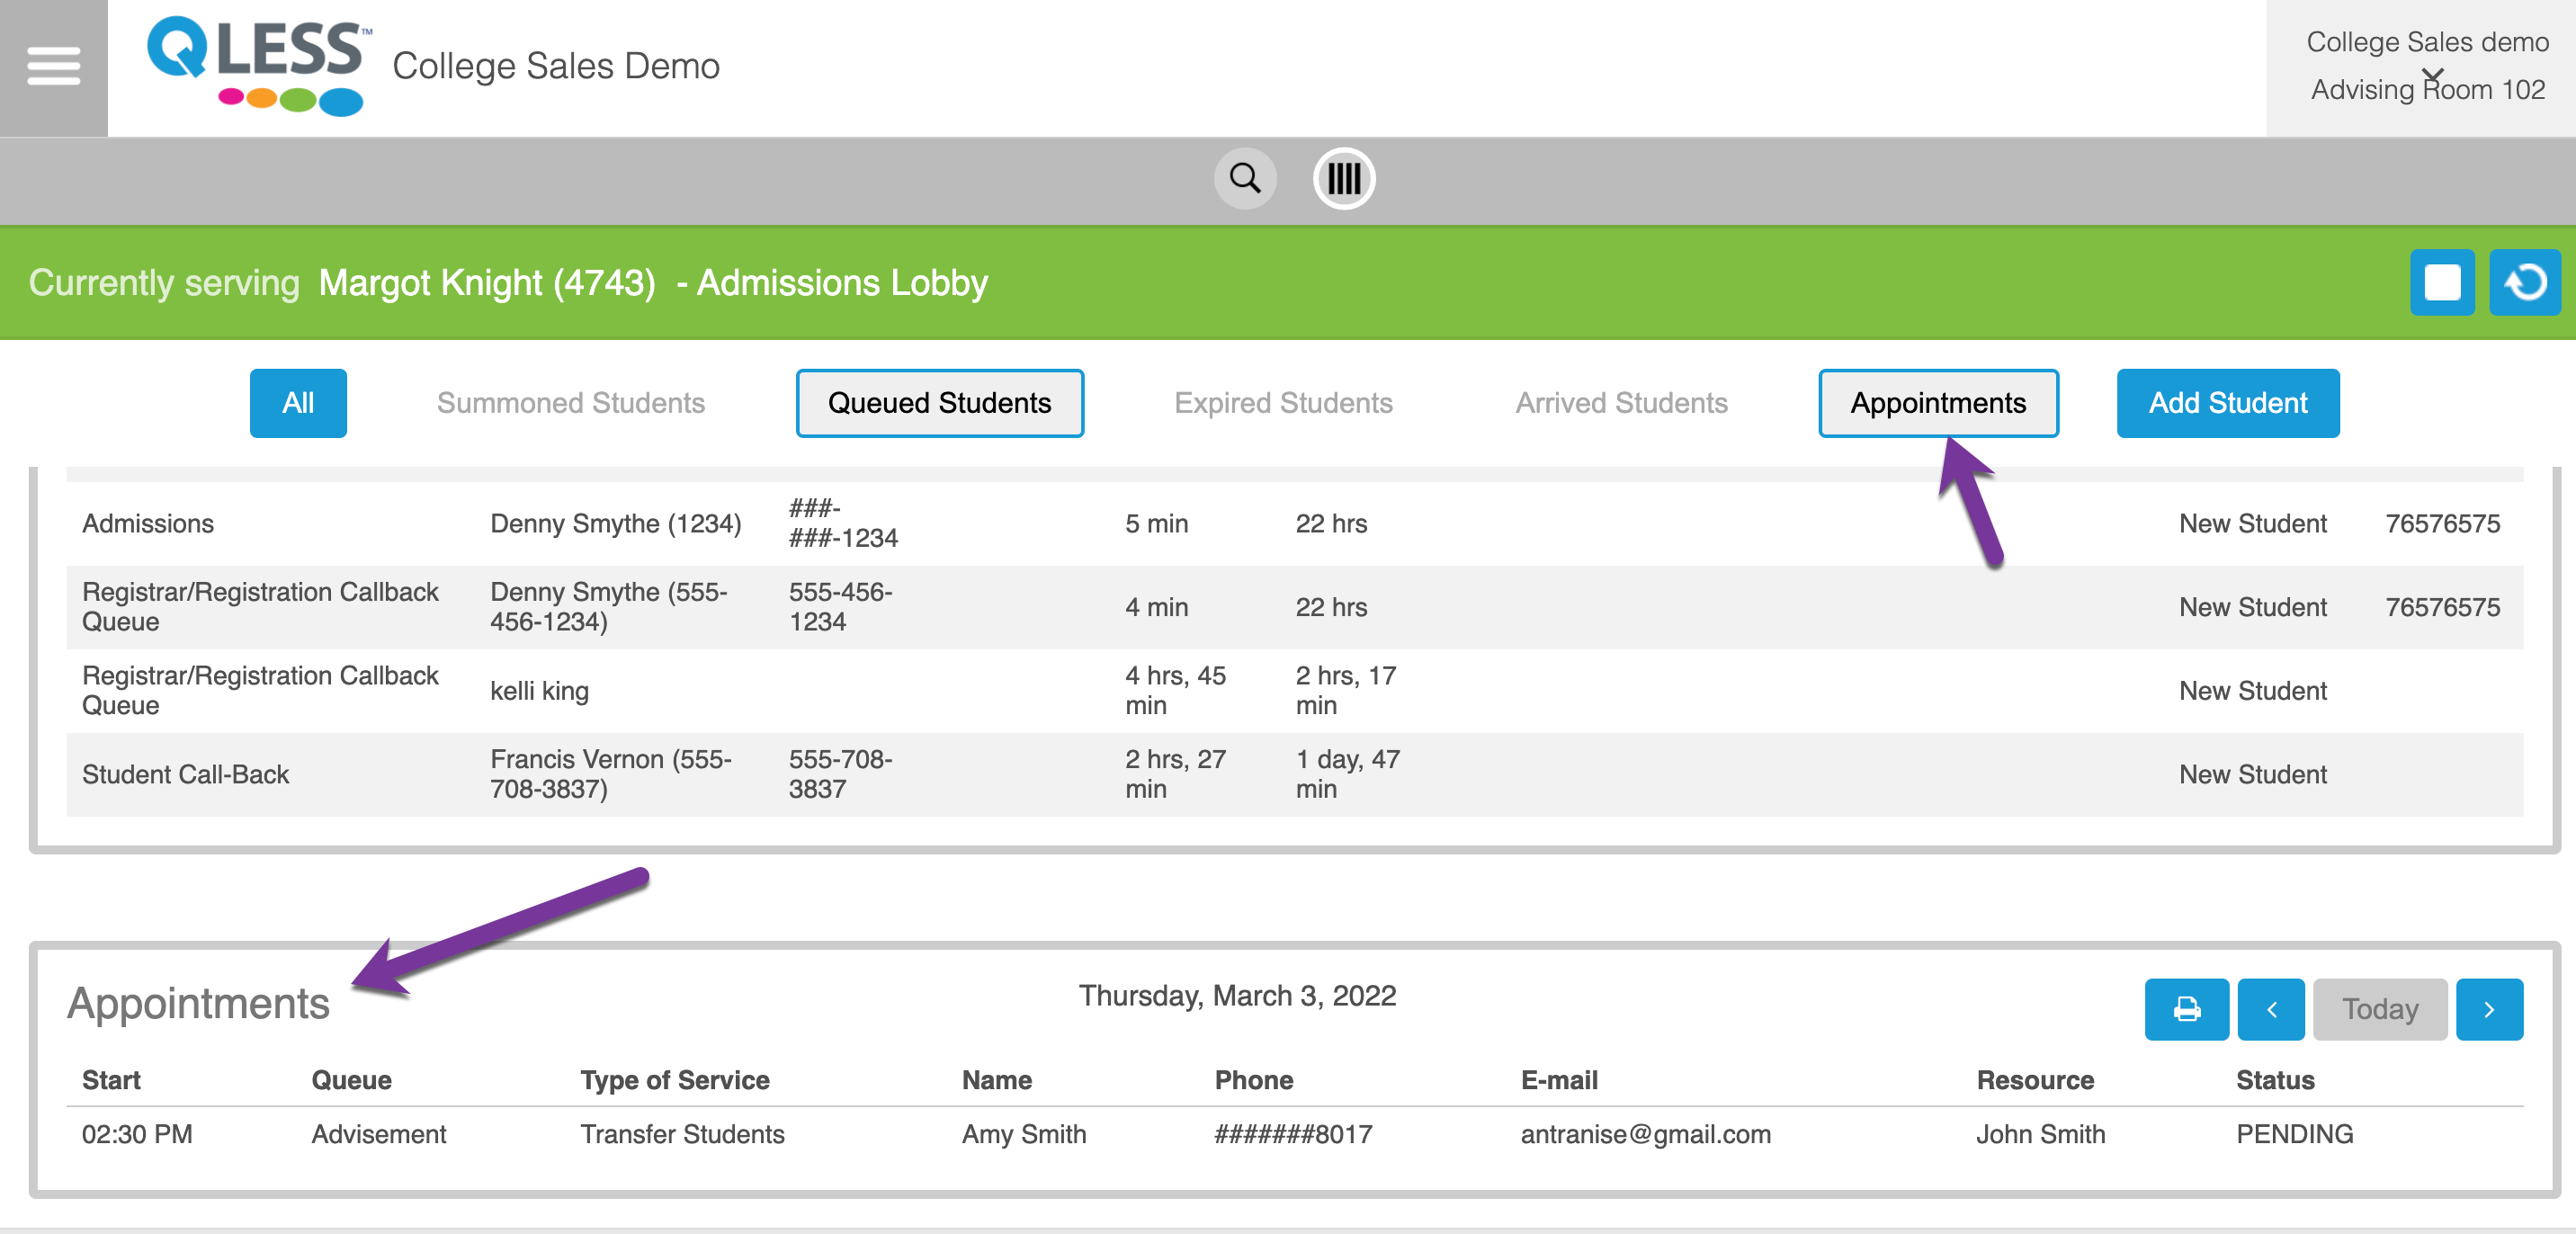
Listing of customers who have scheduled appointments - To access Appointments, click on List View in the Customer Engagement Center (4 lines on the top middle section  ). The appointments list can be seen in the last section of the page.
Options for navigating in Appointment:
Page through each day using the date navigation controls (arrows) at the top of the view
Print appointments by selecting the print icon
Benefits of Appointment View:
The ability to serve a customer who arrives early (see “Summoning”)
The ability to scroll through appointments or search for customers (see “Searching in Appointment View”). This is helpful when you encounter situations such as:
Canceling appointments for call in customers or those struggling to do so via SMS
Finding an appointment time for someone
Appointment Status
Pending - Initial view after customer schedules
Approved - To indicate that it has been manually reviewed (You can select this status.)
Rejected - To indicate that this time slot should be available for others (You can select this status.)
Queued - customer’s appointment is approaching (Automatically by QLess™)
Cancelled - customer cancelled their appointment
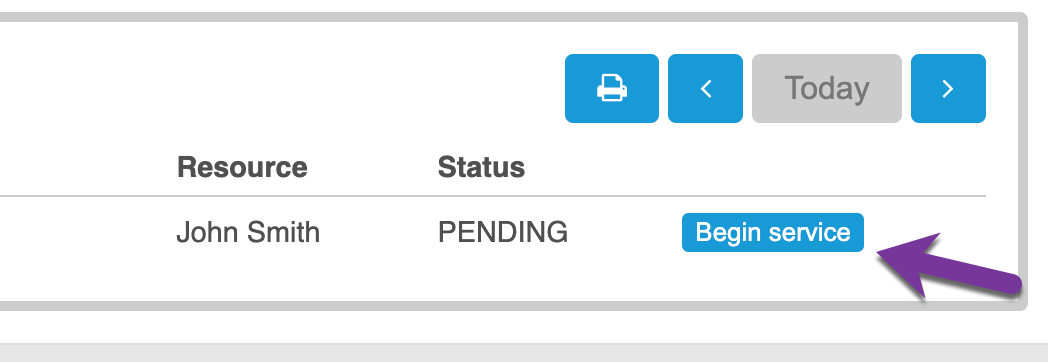
Summoning an early Appointment
If a customer with an appointment arrives on site very early, and you want to begin serving him before he has even been queued, you may press the Begin service button in Appointment View. This will begin a service transaction for that customer. This will be located in the same column as the summon buttons.
Reminder: When in a “typical” summoning situation, you should use the regular summoning functionality (outside of Appointment View) so as not to skip over your walk-in customers!
Searching in Appointment View
When you click the Search icon at the top of the screen when Appointment View is open, you will be searching appointments instead of queued customers.
You may search for an appointment by:
confirmation number
customer name
last digits of the customer's phone number
Note: Search results appear as you type. Once you select a search result by clicking on it, the Appointment View will automatically navigate to the day of the selected appointment, and will highlight it in the list.
Making an Appointment
Customers can make appointments via the office or home kiosk. Staff members can add appointments via QLess Calendar.
To make an appointment, customers will complete the following steps:
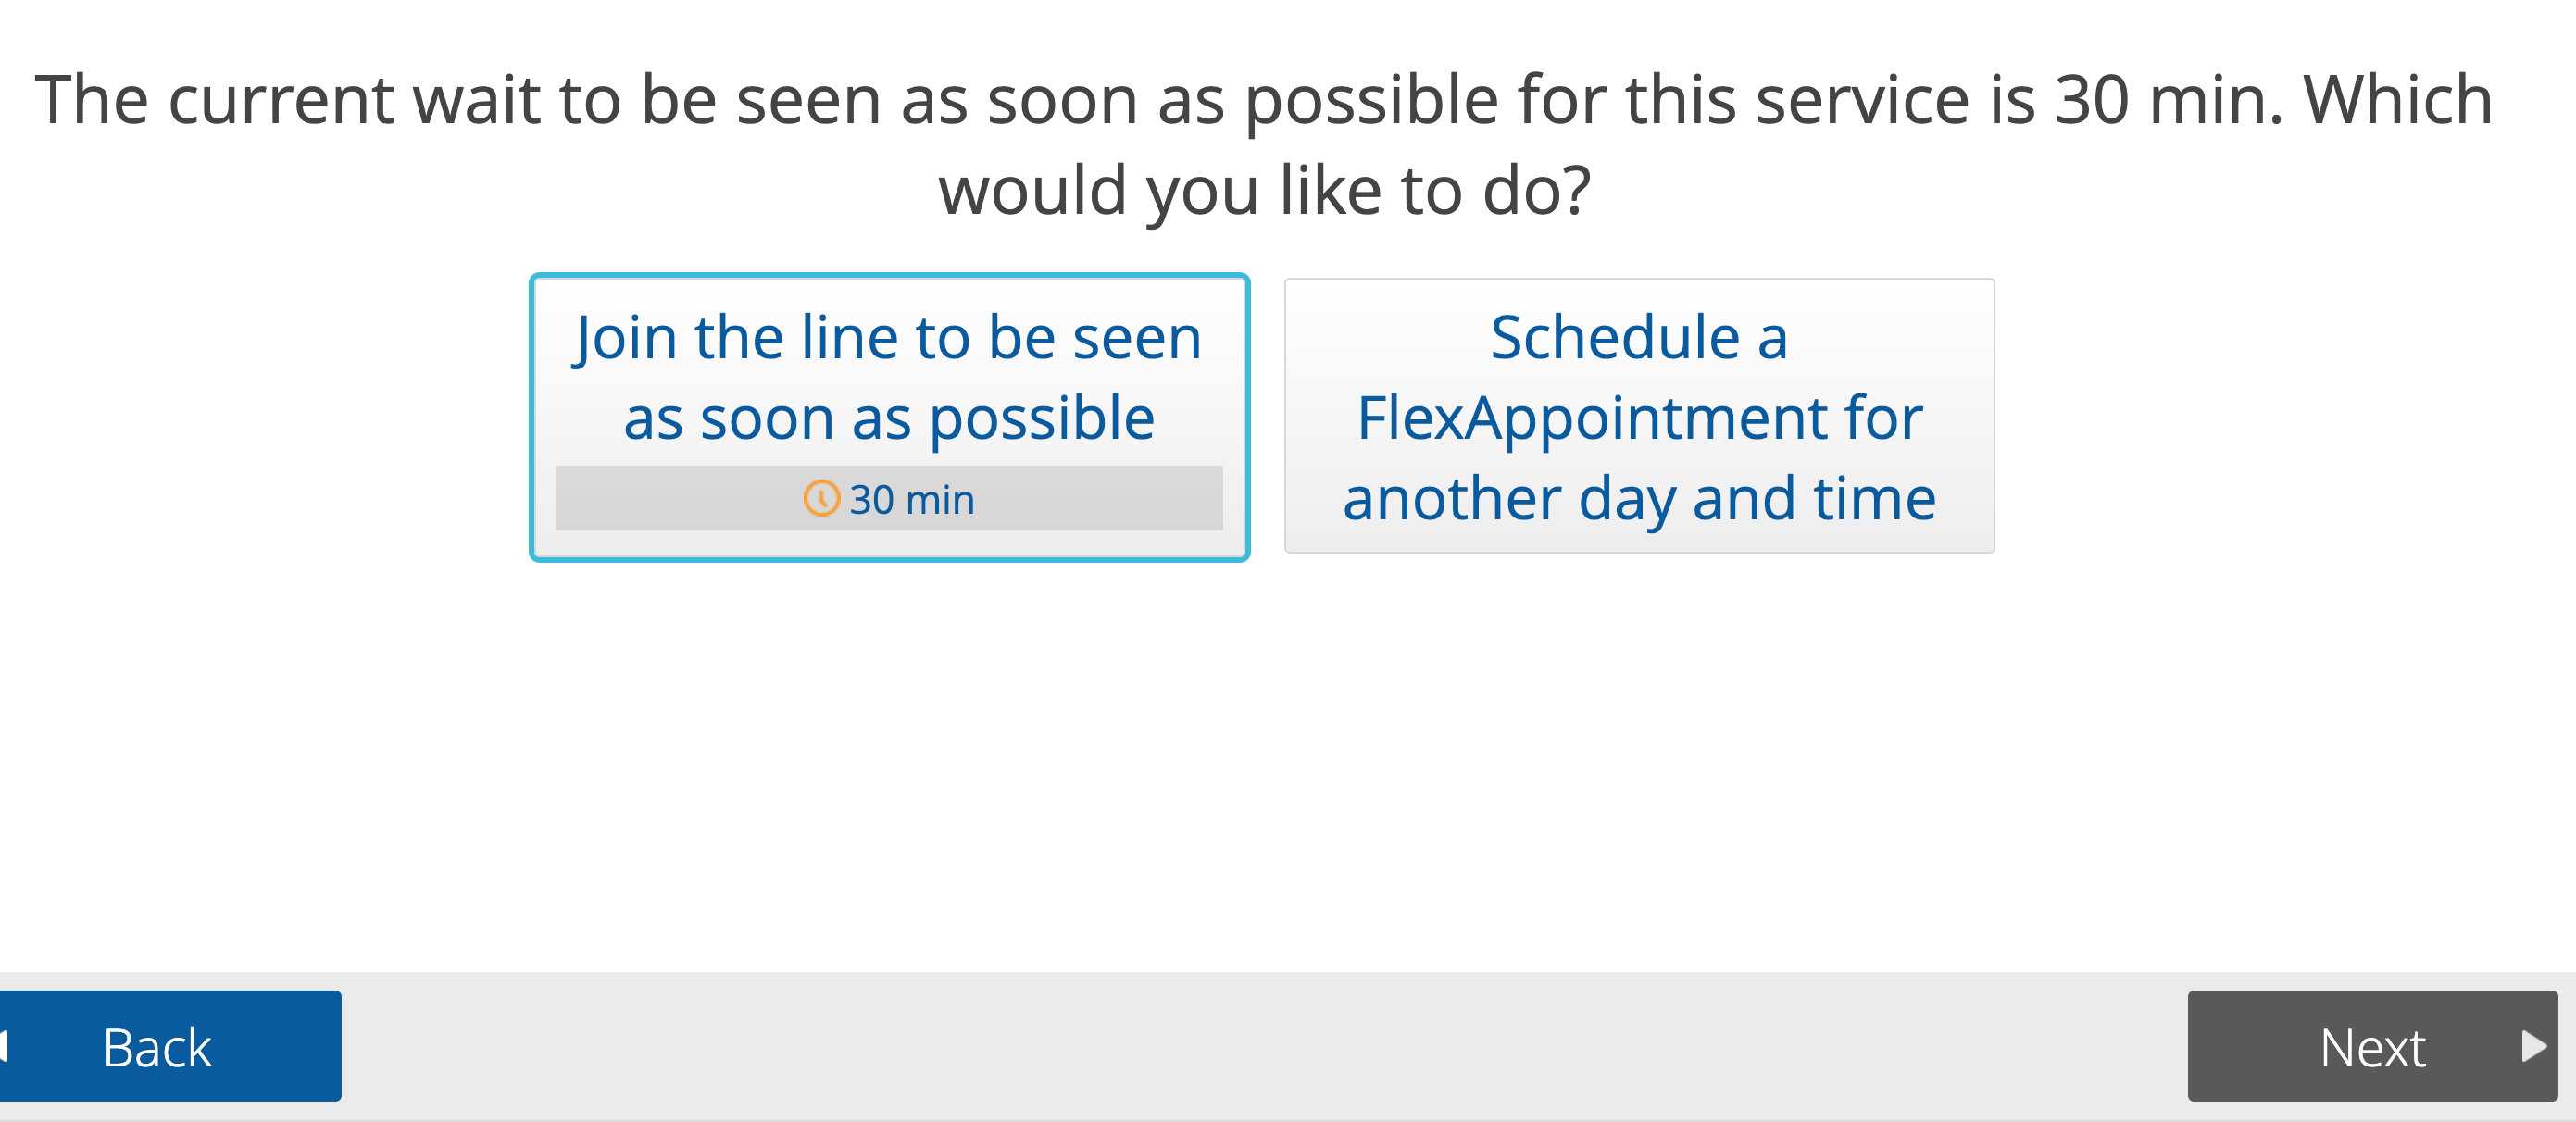
1) After selecting the line they would like to join, the customer will choose between joining the line or scheduling an appointment.
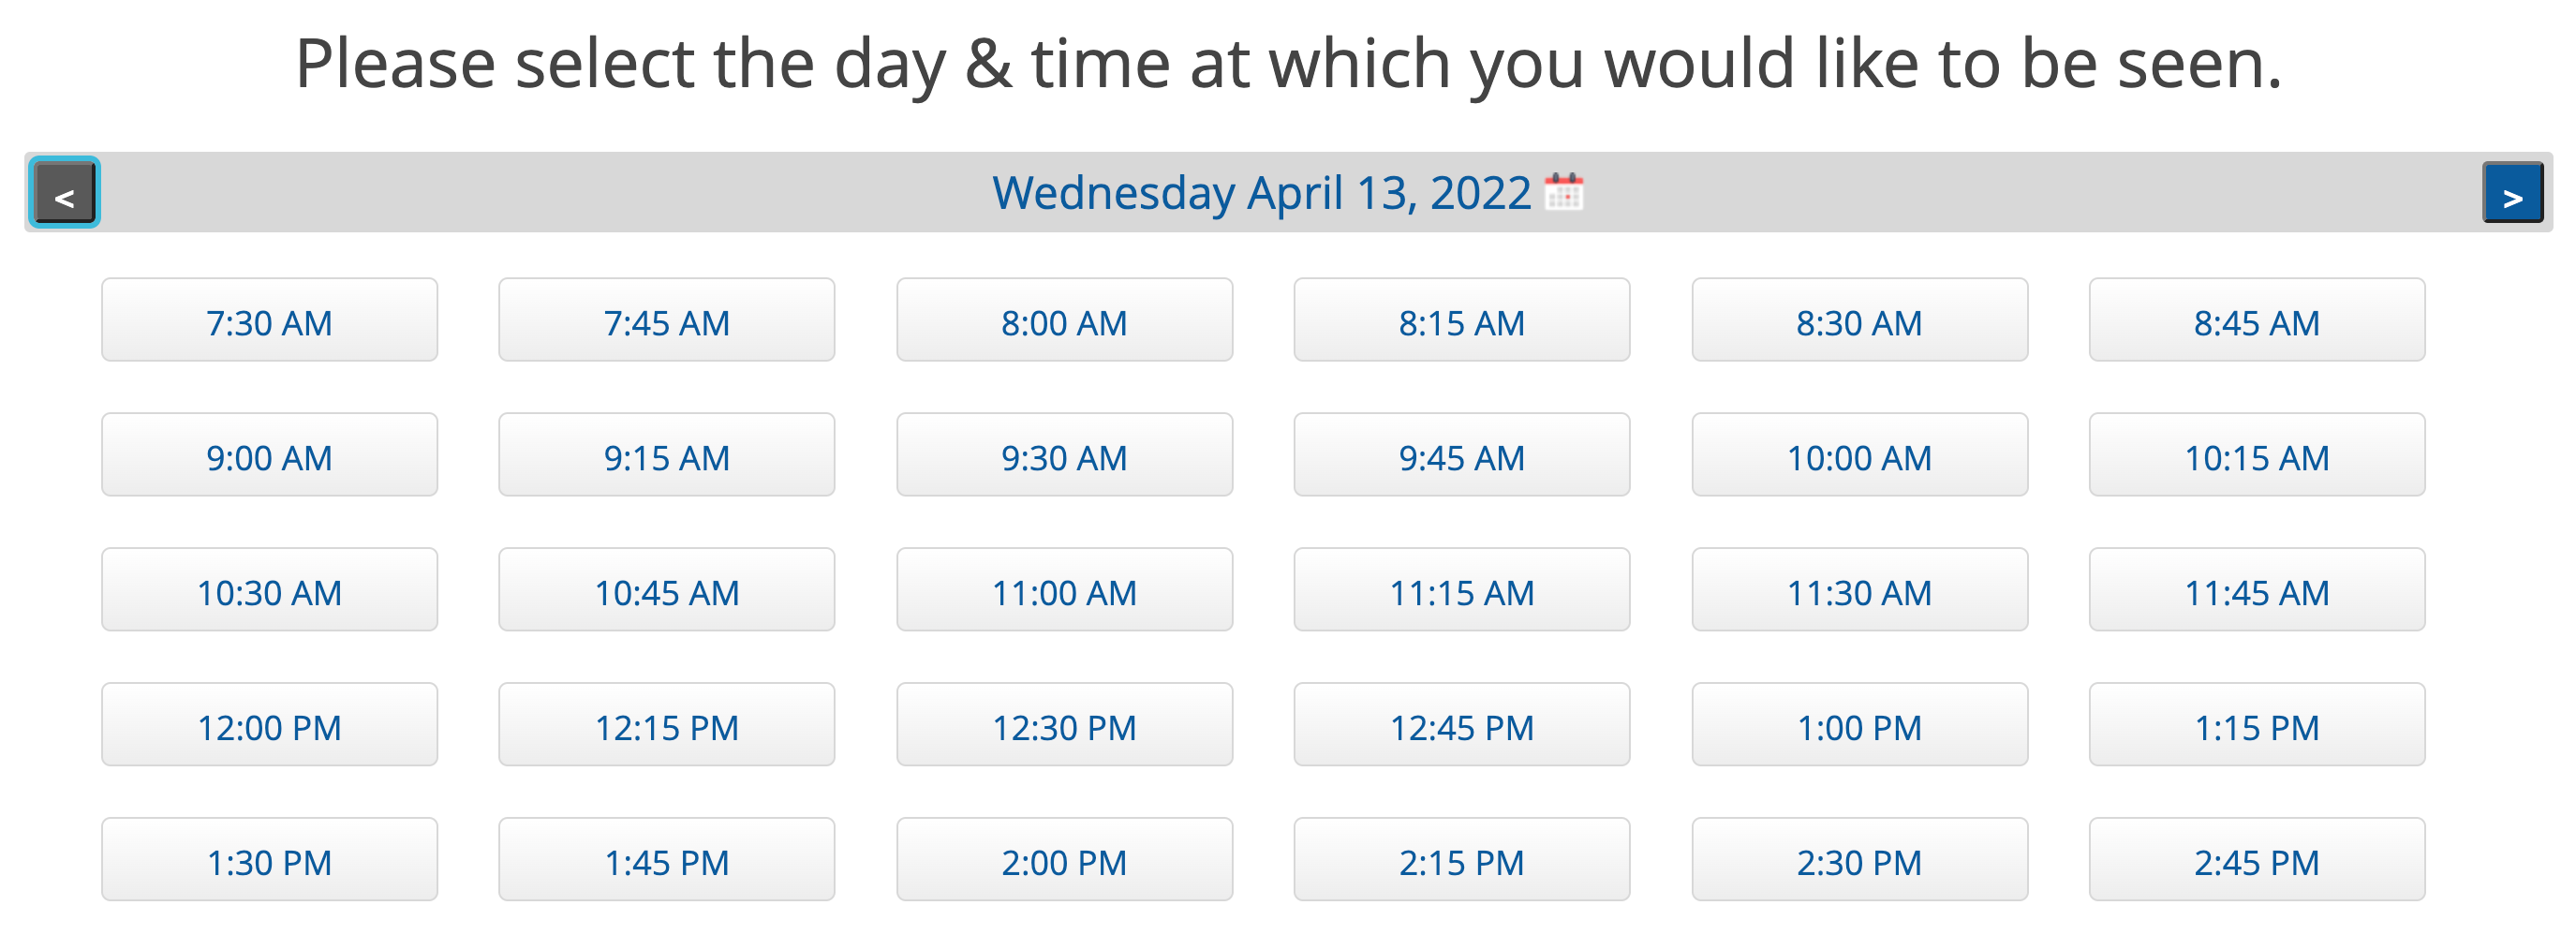
2) Available times will be shown. customers can select a different day using the arrow next to the date.
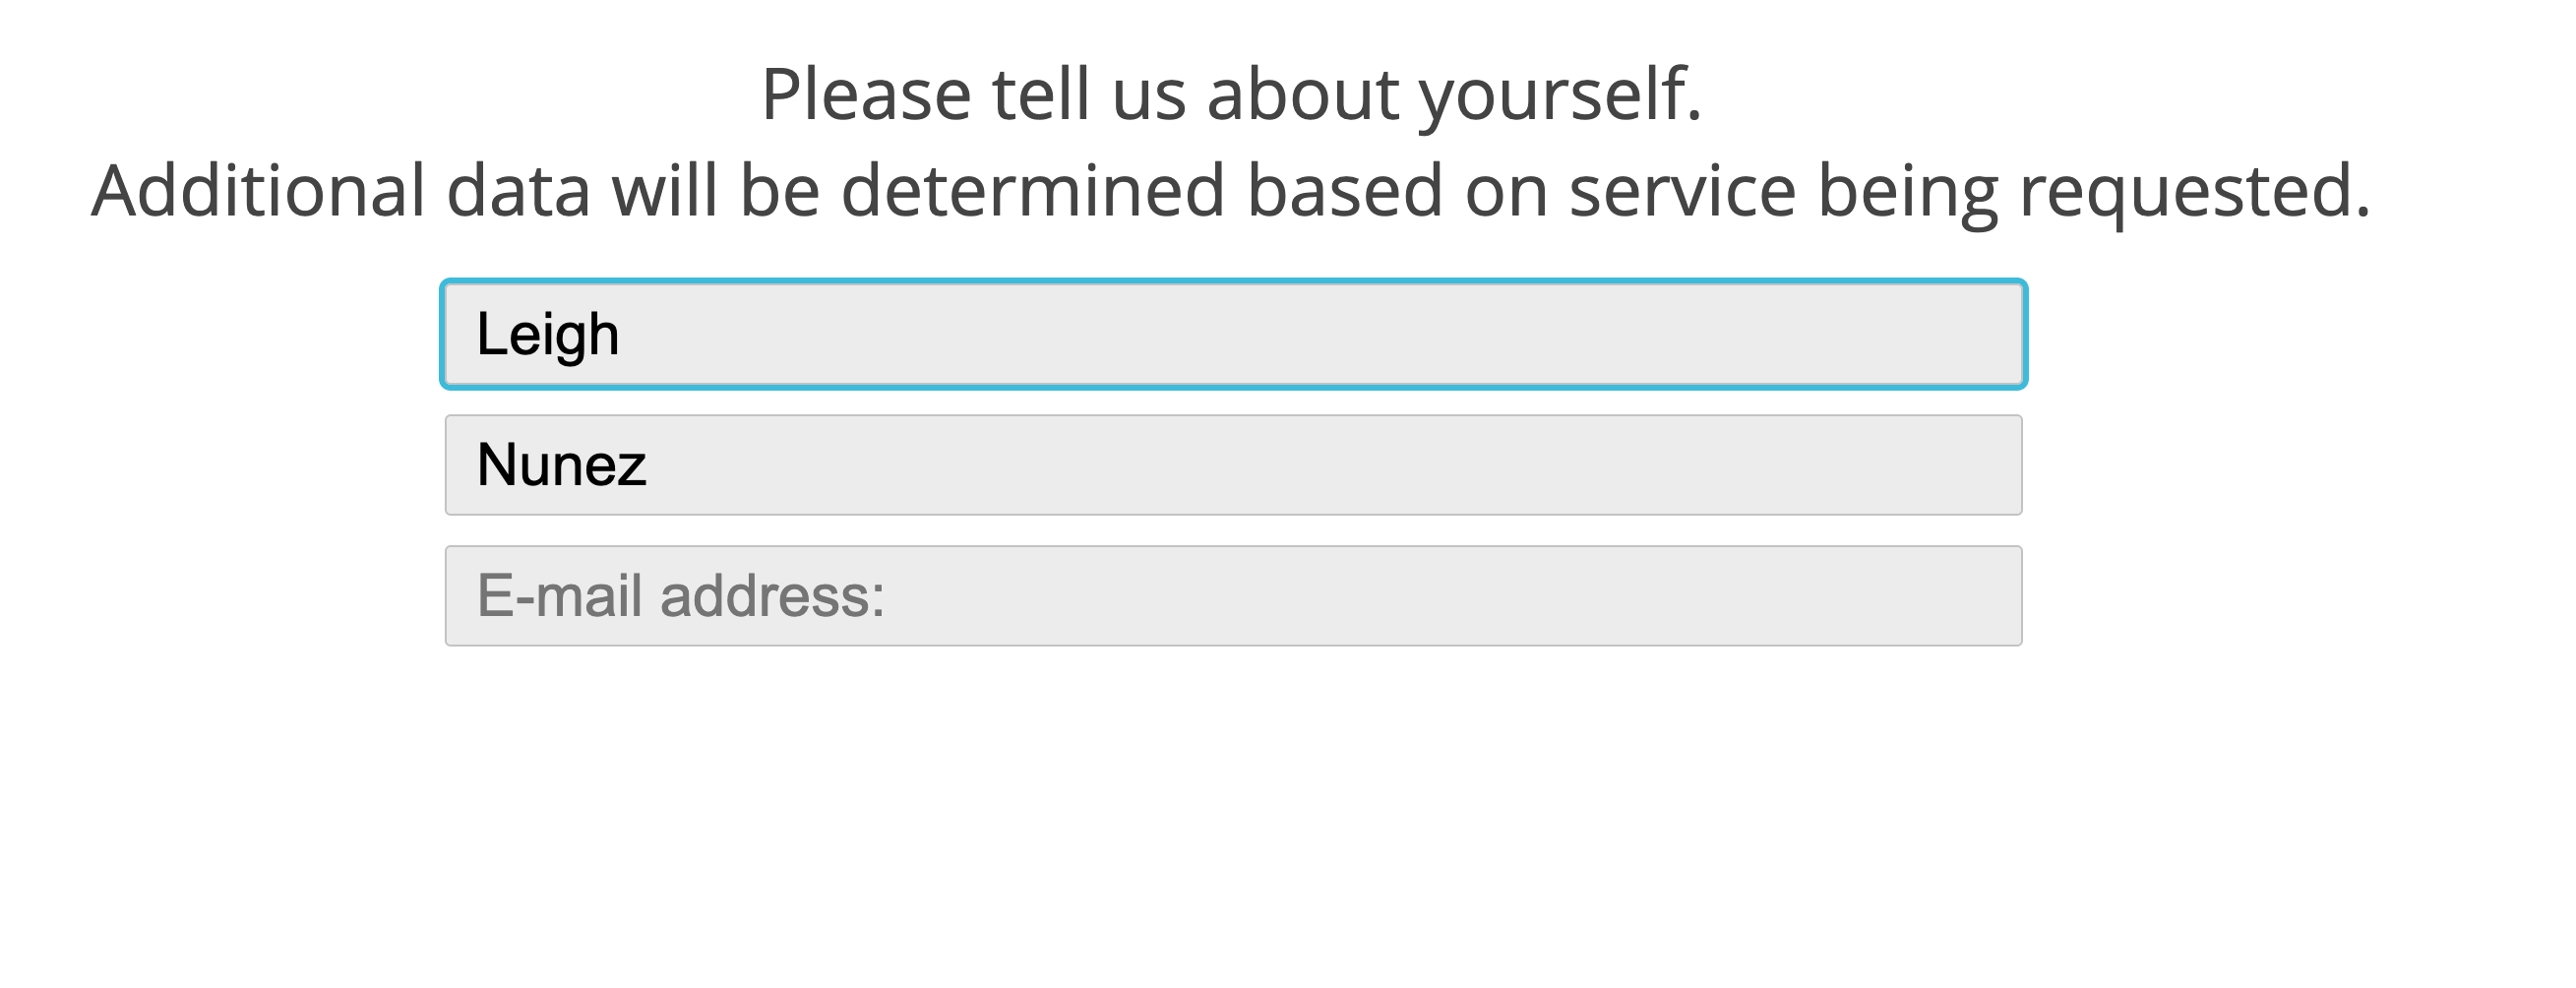
3) After selecting a day and time, the customer will enter their email address. An appointment confirmation will be sent to the email address that is given.
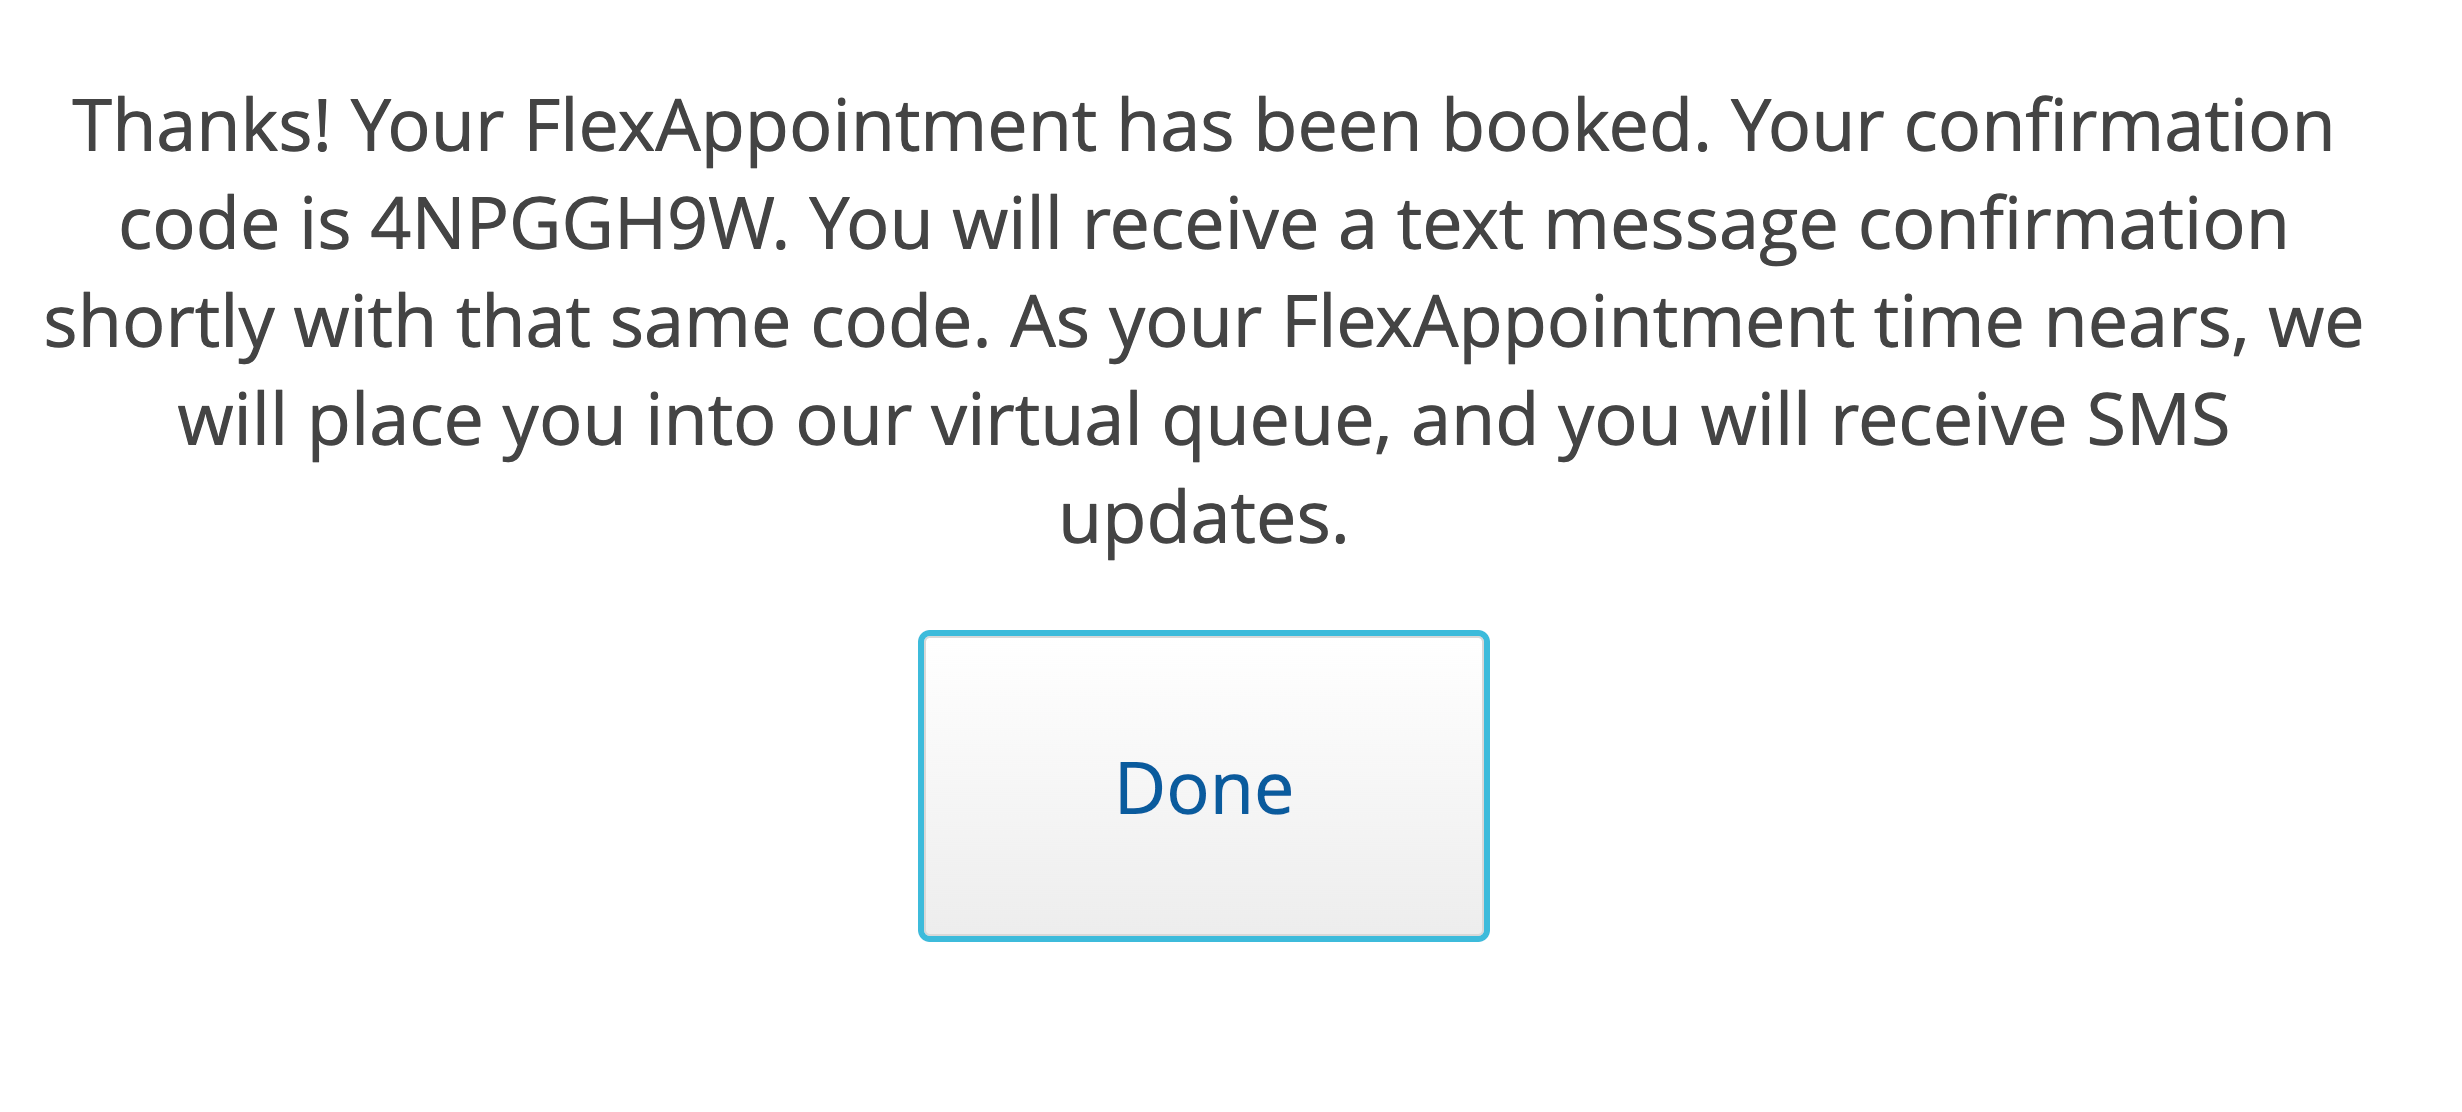
4) Finally, a confirmation message and code will appear on the screen.